Wednesday, May 10, 2017


Hi everyone I hope you are doing great! I am stopping by today to say thank you so much for sticking around and not unsubscribing to my blog and social media sites. I truly appreciate your loyalty. Unfortunately, the blog and social media sites have been a bit neglected for a while.
 
I am so grateful to those of you that have reached out and asked how I’ve been. I had to take a leave of absence to attend to very personal issues. Unfortunately, life sometimes takes us on a rollercoaster ride with unwelcome ups and downs.
 
My heart is filled with joy to let you know that I am back now and I hope to continue to inspire you through my artistic journey.
 
Once more thank you very much for sticking around from the bottom of my heart.


Ivett💖

Thursday, January 8, 2015

I Am Roses “End of the Year” Blog Hop Annocement

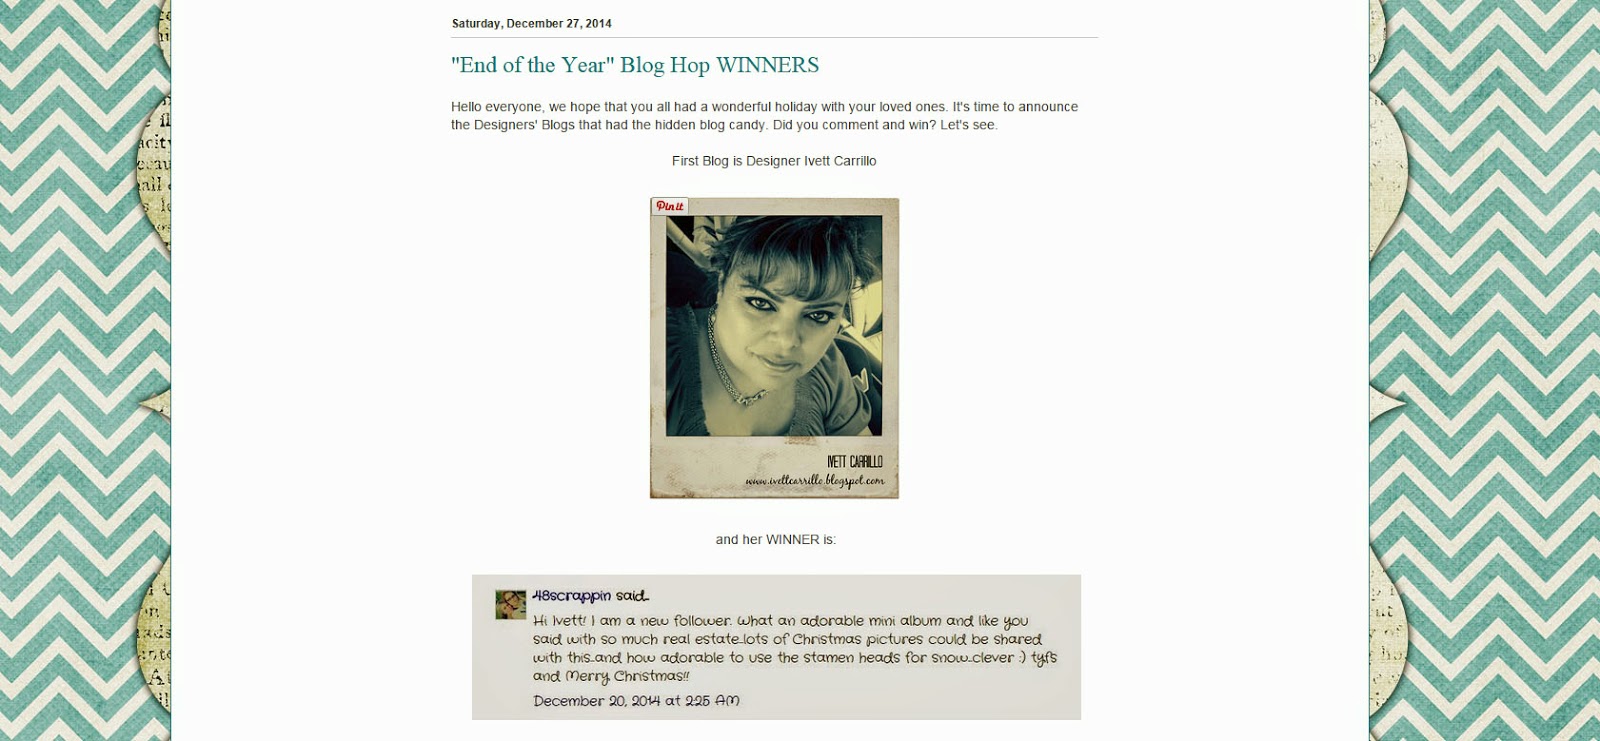
Hi my awesome and fabulous readers did you know? Did you see? I was the one the “WON” the I Am Roses “End of the Year” Blog Hop!!! That means you yes one of my fabulous followers was chosen to win!!!
Drum roll please! Here is the winner:
But where are you @ 48scrappin??? 
You have to come by the I Am Roses blog and claim your prize! 
So a great BIG congratulations and make sure to stop by and claim your prize.

I want to send a special shout out to all of you awesome ladies that follow my blog on a regular basis and take the time out to comment on my posts! You are truly special to me XOXO!

Monday, January 5, 2015

$20 Planner Challenge/52 Week Money Savings Challenge

You’re invited!!! 
 I’m calling all planner addicts 
Newbies =)
To welcome the New Year I have decided to do a $20 Planner Challenge and I’m inviting you to do the same. Recently I posted a video showing my new 2014 PlumPaper Designs Planner and some of my viewers posted the question of how you can achieve planning throughout the year on a dime! This got me brainstorming and I came up with the idea of a $20 Planner Challenge.
I scouted several of my favorite spots for example Michael’s, Barns & Noble, and Joanne’s for planners and accessories on a $20 budget. Can I hear and hear an applause? I think was I was pretty successful at finding a good planner for you on a tight budget! I was able to score Washi tape stickers, page flags, and planner for $19.63 and had a little change to spare.

I am tagging all of you to do the same. We can always use an extra planner for home, work, fitness, etc. especially for the less than $20.

I am also tagging you to do the 52 Week Money savings Challenge with me this year. We can keep each other accountable by using the #icarrillodesigns on Instagram. This is a nifty little tool/printable that can help you save about $1300 in a year giving you extra money for your pocket. You can find the printable at www.freshandorganized.com

Bellow I have a video showing you my shopping adventure and how to go about doing this challenge for yourself.

Thanks so much for stopping by!

Saturday, January 3, 2015

Plum Paper Designs Planner Unboxing First Impression & Review

Hi Everyone HAPPY NEW YEAR!!! Stopping by to wish you the best in the New Year and share an unboxing with you.

I decided to buy a new planner for 2015. I did lots of searching for one either paper or electronic, that met my needs and finally settled on a planner from Plum Paper Designs on Etsy. There are several different layouts you can choose from and I felt the family planner was the best for me. I also added additional notes pages, checklists, and sticker sheets to my planner.
I have many things that will be taking place in 2015 and I feel that this planner will help me stay organized and on task.

This particular planner will have a permanent home on my desk for the year and I can already tell that it will do its job =)
This little workhorse has lots and lots options. There is a plethora of different designs to choose from for the cover along with many different layouts. They even have specialty type planners for teachers, students, wedding, meals, and fitness. Another plus are all the add-ons! You can add notes and checklists pages either to the end or throughout the planner. You can add sticker pages, photos, and additional contact pages too. Whatever you need to make the planner work best for you. For me the biggest selling point for this planner over some other similar ones on the market is the fact that you can order it any time of year and to start any month that works best for you. You can also add 6 months to you planner if you need that as well. Also it feel like it will be durable. There is a plastic cover, heavy duty spiral binding, and heavy weight paper throughout the planner. They also carry coordinating note books and I am seriously thinking of ordering a couple of those.

I am honestly pleased with my planner and will be posting updates on it once I have filled the pages with my life events!

I have ordered some other planners as well that I will be making reviews and unboxings on later this month so stay tuned for those!

Friday, December 19, 2014

Wishing you a Merry Christmas {Postcard}

Hi Everyone Ivett here again with another project! I would like to share this masculine Christmas card/postcard I made for my Godson whom is serving overseas this Holiday season sniff sniff. He and I are very close I have put together this Wishing you a Merry Christmas Postcard that I have packed in a box for him that includes a tiny Xmas tree, hot cocoa mix, some cute gifts and tinsel to. I call it a Christmas party in a box =)  I used some recycled corrugated cardboard and put it to good use as my background to this card. Then I added a few die cuts that I jazzed up by adding some Lindy’s magic to them!
 

 Here I added some of my Sandra Dee Sepia to the Old Jalopy before I embossed it with Twilight Bronze Slate. I also used Midnight Pewter on the wheels to give them that beautiful dark look.
 I trimmed my tree with Luscious Lime Flat Fabio, Bells of Ireland Green Starburst Spray, and added snow caps with Purely White embossing powder.
 For the running board on the Old Jalopy I added Midnight Pewter & Silver Moon Sapphire to make it glisten like snow!
 

The dies are from the Tim Holtz alterations line and the Christmas tree is from a Sizzix die. The stamps I used are some of my favorites from the Cavallini Papers & Co. line. The paper I used is form Basic Grey and Tim Holtz Distress ink in Vintage photo. 

Monday, December 15, 2014

I Am Roses “End of the Year” Blog Hop

WELCOME! to the I Am Roses “End of the Year” Blog Hop. If you are here I'm sure you just came form Tamara's  fabulous blog and welcome!
For this Blog Hop I created this photo book to archive some of our most memorable Christmas/December moments! It has 6 pages which gives me 12 pages and 6 double sided inserts. Wow that's a lot of crafty real estate!!! I used a 6x6 Webster's Pages paper and my wonderful stamens from I Am Roses to create the snow underneath the Christmas Tree. 
I used stamens #  ST1 - 101
 

Here’s how for your chance to win:

  • Hop along to each of the Designers’ blogs and be sure to comment on their individual "End of the Year” Blog Post
  • There are 2 HIDDEN BLOG CANDY PRIZES up for grabs in TWO of our hoppers’ blogs!
  • Be sure to Subscribe/Follow the I Am Roses Challenge Blog (http://iamroses-challenge.blogspot.com/).
  • Commenting along the way highly increases your chance of winning the prize package.
  • Comments will be CLOSED on 11:59pm PST on SUNDAY, DECEMBER 21st
  • We will be randomly selecting 2 winners from the comments on two of the blogs and will announce the winners on the I Am Roses Challenge Blog.
 Next up is Marisa with her amazing project!

In case you get lost along the way, here is a list of the I Am Roses Design Team hopping today:


Good Luck!

Thursday, November 13, 2014

Hope you're having a wonderful week!

Hope you have a wonderful week and I leave you with this verse. Live your life in a way that the sun will shine from you and do not let anyone put a shade of negativity over it. May you be happy and hopefully your happiness will rub off on them!

Wednesday, November 5, 2014

Thanksgiving Invitation

Hi Everyone and welcome Ivett here again to share a new project with you for November! 
I have put together a Thanksgiving Card this month with some fabulous colors. I used my favorite Sizzex mini pumpkin and leaf #4 die. I have had this die for ever and it’s gotten lots of love over the years. The funny thing about it is that I can always think of new ways to use them! 


I will be hosting Thanksgiving at my home this year and thought it would be nice to make some personal invitations for a few family and friends this year!
The colors I used for this project were: Tiger Lily Red Orange, Marigold Yellow Orange, Cowabunga Copper, Ponderosa Pines Olive, and Steampunk Sepia.
I found the perfect brown ribbon that says autumn on it to divided the card up and give it some character.
 
I embossed the metal piece and the back of the card with a Spellbinders Die and inked all the edges with Distress ink for depth. The inside of the card I just lined with white 110 lbs. paper and will fill it out later. I also used 140 lbs. water color paper for the pumpkins and outside liner to the card.

Bellow I have a tutorial on how I put this card together.
 As always I hope to have inspired you to create something wonderful! 

Sunday, November 2, 2014

Odyssey of the Mind {for Lindy's Stamp Gang}

Odyssey of the Mind

Hi Everyone! I'm here to share with you another project I put together using the concept of an Artist trading Block.
The cube (or Artist Trading Block) was great fun for me and I guarantee it’s not to be the last of its kind! Yes another box- I just couldn’t help myself!!! =)

This month for the Lindy's Stamp Gang Color Challenge I put this cute little box. Bellow you can see that the possibilities are endless with the ATB's.
So let’s take an artful journey through the mind! An Odyssey of the Mind that’s where; and a 3-D Artist Block experience with a major color explosion!!!
 I used: 
Azure Sea Asters Witch's Potion Purple Starburst Spray, Brushed Nickel Starburst Spray, Clam Bake Beige Starburst Spray, and Midnight Gold Embossing Powder. The paper line i used was Authentic. Tim Holtz Alterations Dies, trinkits, and beads. 

Bellow I have a video explaining how I put this beautiful Artist Trading block together! So prepare to be amazed by these creative and innovative ATB designs!
As always I hope to have inspired you to go and create something wonderful! 

Saturday, November 1, 2014

Christmas Gift Tag {for I Am Roses}

Hi Everyone! I'm so excited to bring you a new challenge this month! I had an absolute blast putting this Christmas tag together and officially kicking off my favorite season of the year!!!
 I chose a white on white background so my gorgeous gardenia and leaf from I Am Roses could pop and I think I was able to achieve this elegantly! 
 Bellow I have a video tutorial on how I put this card together for you. Come over and follow along.
If you don't know we host a challenge over at the I Am Roses Challenge blog every month and you have the opportunity to play along with us and win some prizes! 


As always thank you so much for stopping by my blog and I hope to have inspired you! 

Tuesday, October 28, 2014

Thankful Harvest Artist Trading Block

Hi Everyone! I’m back with new project- It’s an Artist Trading Block {ATB} I created for I Am Roses this month. 
I totally enjoyed this process. I have seen these pop up here and there so I decided to give it a go. I think it turned out beautifully don’t you?

In this Artist Trading Card I used my R40-827 Roses as a topper. I also used DCWV’s Autumn Spendor paper stack, Lindy’s Stamp Gang Sprays, Tim Holtz Alterations Dies, Sizzix Dies, Distress Ink, and my trusty ATG Gun.
I added leaves and branches around the box to bring out the colors and the cute pumpkins. Bellow you will find a video tutorial for your enjoyment! 
As always I hope to have inspired you to go and create something wonderful!
 Thank you so much for stopping by my blog! 

Saturday, October 18, 2014

Autumn Gathering!

 Hi Everyone Ivett here with you sharing an autumn card. Fall is a super exciting time for me because it kicks off all of the holiday decorating which I love and enjoy so much!
This card truly evokes childhood memories for me. 
For this card I used Kraft card stock to cut out all of my leaves and branches dies from Tim Holtz Alterations Dies. McGill embossing tools and a Prima Distress tool. I also used black 110 lbs. cardstock for the card base and 1 6X6 sheet of Prima Sunrise Sunset paper pad. I then inked all of the edges to the branches, leaves and back layer of my paper. 

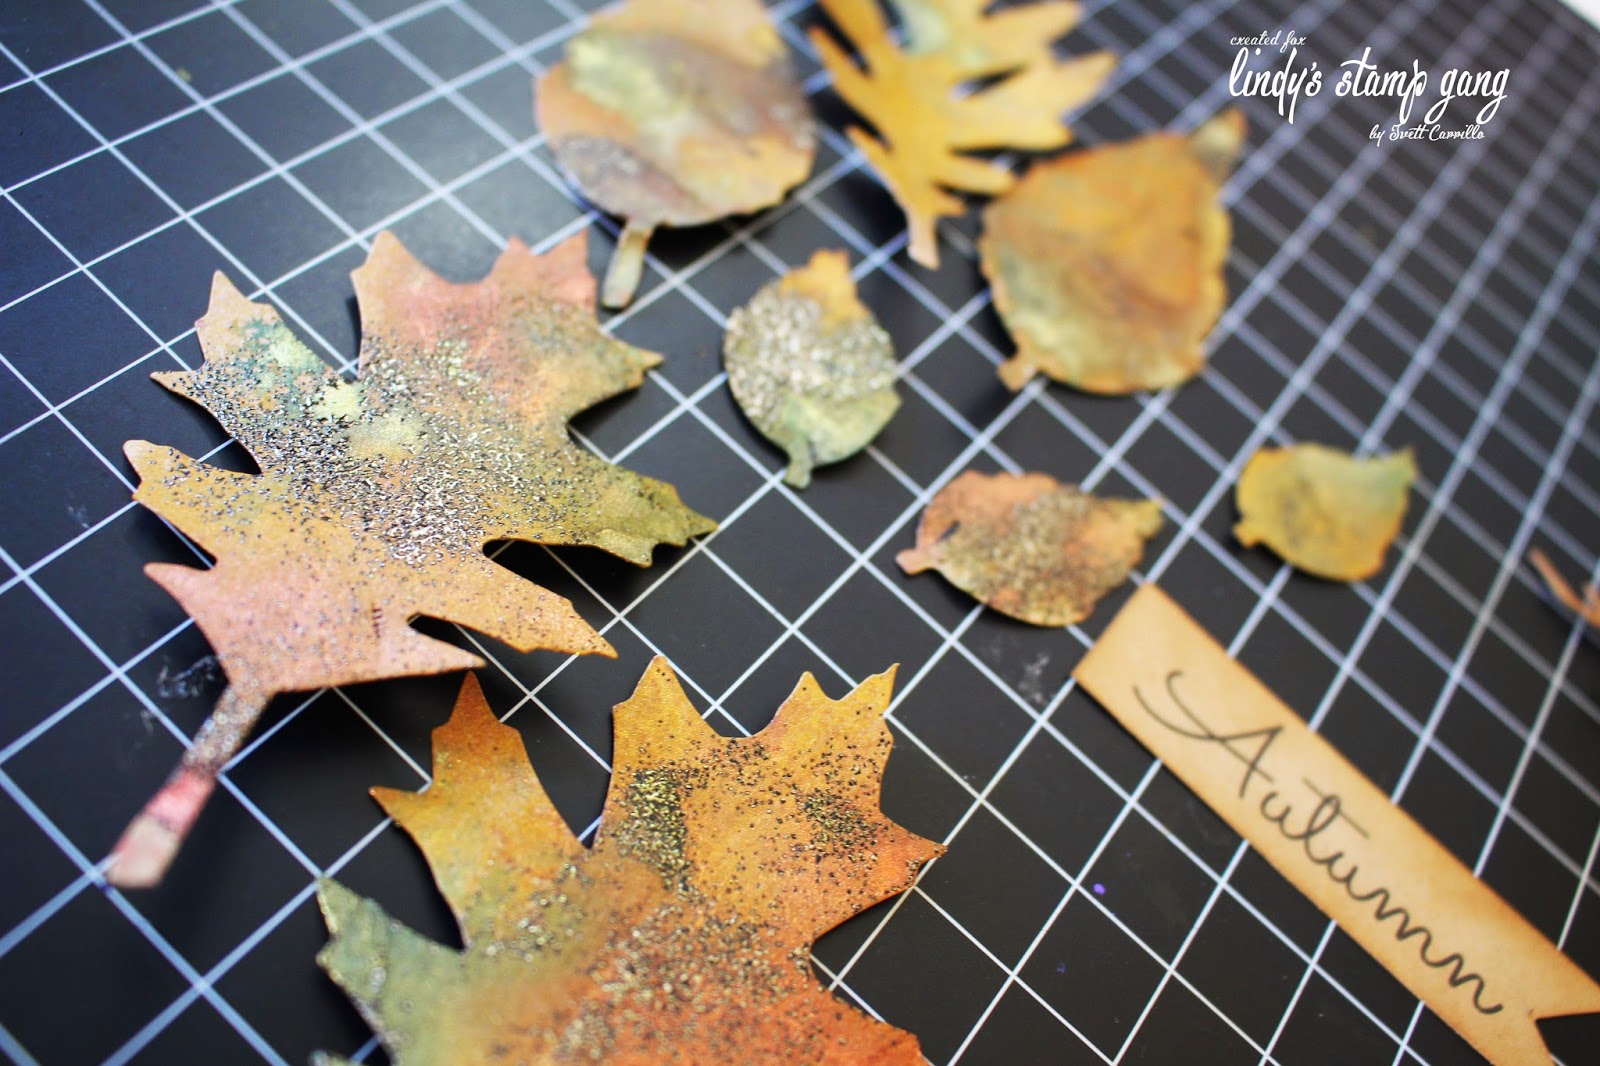
 Ok-so on to my fabulous Lindy’s Stamp Gang goodness!!! I used Ponderosa Pines Olive Starburst Spray, Cocoa Bean Copper Starburst Spray, Sandra Dee Sepia Flat Fabio, & Red Hot Poker Orange Starburst Spray to color, distress and use a gradient coloration technique on my leaves. Then I sprinkled them with Twilight Bronze Slate & Midnight Gold embossing powders to make them glisten and gleam beyond compare!
As always thank you for stopping by and I hope to have inspired you!    
            Bellow you will find a video tutorial on how I put it together. 
~Ivett                                                                

Friday, September 26, 2014

Creative Envelope - Card Box

Hi Everyone it’s that time again when I share with you a new project using my fabulous I Am Roses! 
This month I decided to incorporate them on a cute little greeting card gift box. I used my beautiful Curly Daisies G1-426 and Tulips TU1-426. 
Here I used a gorgeous envelope box that I created using my We R Memory Keepers envelope board. 
The paper I used is 7 Dot Studios & Graphic 45. As you can see these papers serve as a phenomenal backdrop to my exquisite flowers. I created my belly bands to hold everything together with a Martha Stewart punches. Thank you for stopping by =)
Bellow you will find a video tutorial. As always I hope to have inspired you to create your own!

Wednesday, September 17, 2014

Steampunk Meets Fall Altered Canvas

Hi everyone Ivett here again sharing a project with you guys! We are in mid-September already can you believe it? Time really does fly and in honor of this time of the year I picked this fabulous color combination to work with! 
 As you can see I used really warm fall colors to put together this Steampunk marries Mixed Media canvas.
I incorporated my love for mixed media and vintage finds! On this canvas I have a mix of sprays, micas and embossing powders for you. I used Grab a Guy Gold Starburst Spray, Brushed Nickel Starburst Spray, Marigold Yellow Orange, Starburst Spray.
I also incorporated some of my favorite embossing powders in Midnight Brown, Midnight Pewter, Midnight Cooper, Midnight Gold, and Twilight Bronze Slate.
You can buy these separately or in their respective sets. 
I also incorporated my wonderful roses from 
I Am Roses to complement the fall colors.
Bellow you will find a video of me putting bits and pieces of this canvas together for you.  
As always I thank you so much for stopping by and hope to inspire you to create something wonderful! 

https://www.youtube.com/watch?v=fDaq3iSRk1c

Monday, September 1, 2014

Technical Difficulties

Due to technical difficulties my regular 
1st of the month post will be uploaded at a later time please check back periodically today for update or the posts. 
Thanks for your support and your patience.